
Working the angles of a diamond shaped face, and how to contour properly for a soft and seamless finish
You know what they say – diamonds are a girl’s best friend. In this case, we mean that almost literally, as this is one of the face shapes with the best natural angles to work with. If you’ve been following along, we’ve shared tips on how to contour some of the other face shapes so far, including round, rectangular, and oblong. Today we’ll talk about why contouring for diamond shaped face is different, and what techniques to use to get a smooth, makeup artist-like blend for a seamless finish.
But first – some basics:
Highlighting 101
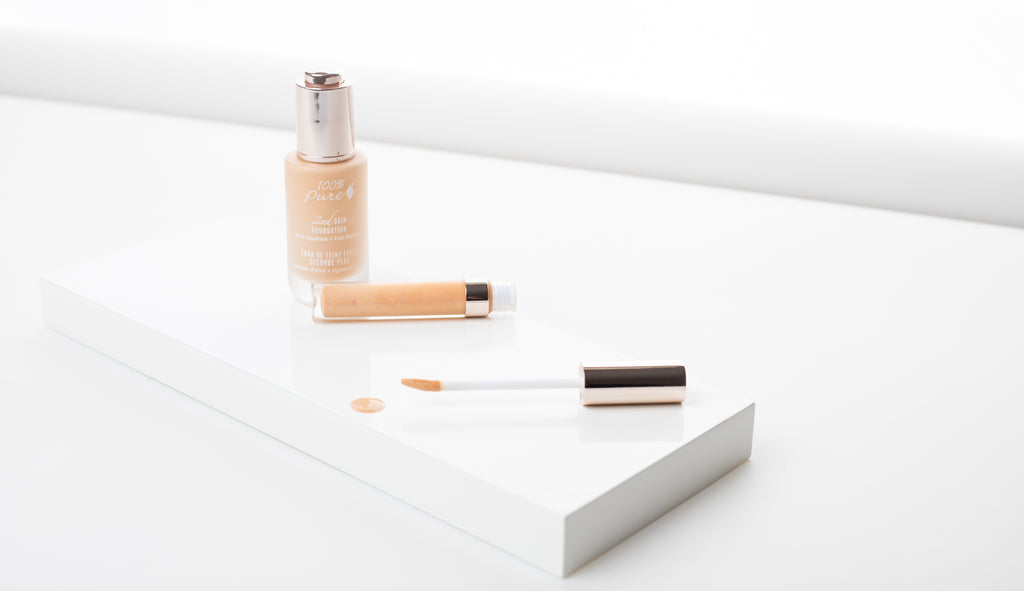
In the world of highlight and contour, highlighting doesn’t mean that glimmery, golden pressed powder that we basically dip ourselves in before heading out the door. Highlighting here has much more to do with using our facial structure to create shadows and light. This step helps to draw attention to an area or neutralize darkness at a high point of the face. When highlighting, product is often placed under the eyes for example, to give the illusion of a smoother surface area (and better night’s sleep than we actually had). Each face shape is different, but nevertheless the highlighting step remains relatively the same for most face shapes. To highlight we would use concealer or perhaps a foundation product, and we’d apply during the base application step of our beauty routine.
Contour 101
Here’s the fun part – contouring, or enhancing shapes and angles on the face by creating shadows based on your skin tone and facial structure. Much how highlighting is used to create more height, light and smoothness, contour is used to create depth and texture. Very much the yin to highlighting’s yang, contour uses darker creams, powders and liquids in cooler tones than your foundation to create contrast, sharpen angles, and slim the face.
 How to Contour a Diamond Face
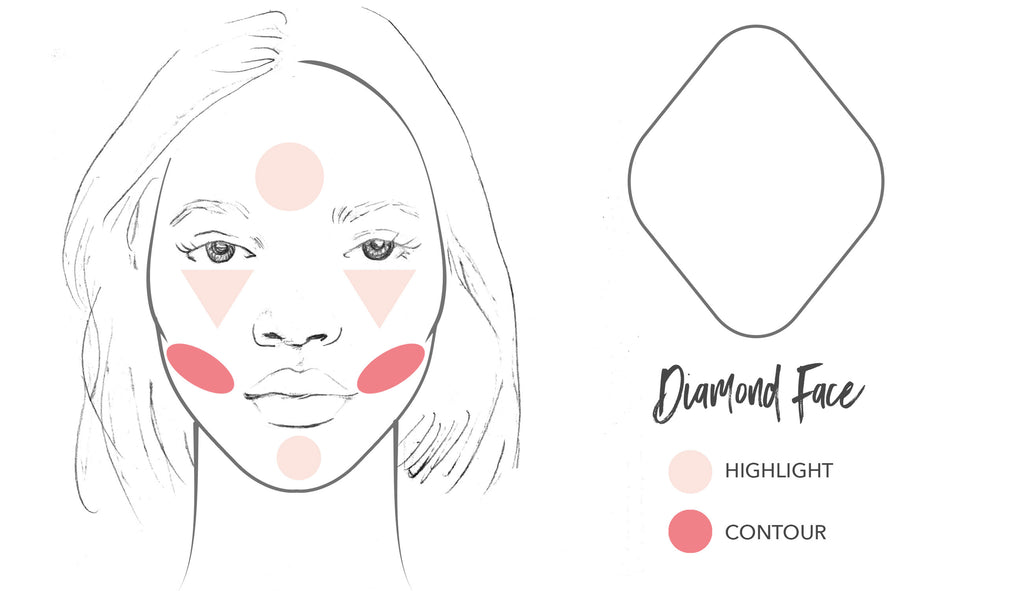
You know that you have a diamond shaped face if your cheeks or cheekbones are the widest point of your face, while the width of your forehead and jawline are slightly narrower. This shape can sometimes be confused with a round face, however here we’re looking for more length and definition in the jawline and chin, while the forehead should not be quite as wide as your cheeks like we’d see in a round face.
You may have heard us say that the ultimate goal of highlighting and contouring is to achieve a more heart-like appearance with the bone structure, and this is still essentially true of a diamond shaped face as well. But when we see a diamond shape, there’s a certain resemblance to hearts (think about the pointed bottom of a heart), and this is why this face shape is one of the most fun to highlight and contour. While most faces utilize more contouring to definition, diamond shapes utilize more highlighting to bring out the face shape.
Step 1: Highlight
Depending on the formula you use for foundation, you may be doing this step before or after your base. You’ll want to stick to cream or liquid formulas (either foundation or concealer) for this, as they are gentler on the highlighted areas of the face, and the most flattering and forgiving.
Place the product in a V-shape under the eyes along the sides of the nose, stretching out to either side of your face and down to the end of your nostrils. You’ll also want to highlight the center of the forehead, the center of the chin, and depending on your preference you can highlight down the bridge of the nose as well.
Step 2: Contour
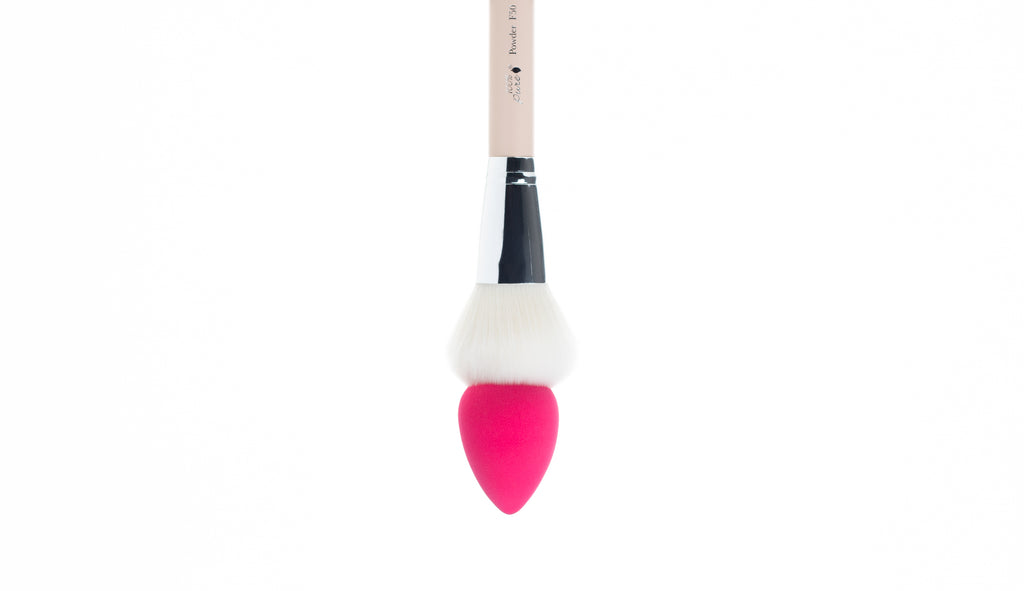
After highlighting and your base is complete, you’ll want to move on to contour, and cream or powder products are best used for this task. We recommend cream for beginners, as it is easy to wipe away or blend with your foundation should it get a little too intense for your preference, although powder mimics the behavior of shadows more convincingly.
Like we mentioned above, diamond shaped faces don’t need a whole lot of contour. You’re really just going under the cheekbones – that little area that aligns with the tragus of your ear. You’ll want to gently sweep product inward with an angled brush, always keeping the most product closest to the ear and sheering out as you move in towards the nose and mouth. Our makeup artist trick to get a seamless blend? If you’re using cream, dab over the top of the contoured area with your foundation tool; if using powder, sweep with a wide, fluffy brush over the top with foundation or translucent powder.
 Contouring FAQs
What tools go with what formulas of products?
Generally speaking, you’ll want makeup sponges for wet products, brushes (cruelty-free, of course) for powders, and you can go either way for creams depending on the tool you feel most confident using.
Do I have to contour and highlight, or can I choose one or the other?
Do I have to contour and highlight, or can I choose one or the other? Freestyle, girl! This is up to you, however, if you highlight and don’t contour, this can create a loss of facial dimension that may result in you looking a little flat.
Do I have to wear foundation if I choose to contour?
This is also another area where you get to have fun with your own makeup preferences. One thing we’ll say is that it is a lot easier to pull off contour if you’re wearing some kind of base, but if it looks good to you #workit.
- Tags: February-2018, how-to, Makeup
We carefully hand-select products based on strict purity standards, and only recommend products we feel meet this criteria. 100% PURE™ may earn a small commission for products purchased through affiliate links.
The information in this article is for educational use, and not intended to substitute professional medical advice, diagnosis, or treatment and should not be used as such.


