
Tips and FAQs on how to contour and highlight a round face
Written by: 100% PURE®
We love round things: donuts, the moon, and lovely round faces. But after adding base makeup, a round face can lose a lot of dimension. Maybe your routine is as simple as BB cream, or as intricate as foundation, highlight, and concealer. No matter your routine, adding coverage means you lose your angles, and end up looking a little flat.
To add a little structure, we’re covering the steps for how to contour a round face shape. We’ll also include the best products to use, and some general do’s and don’ts of contouring!
Highlight 101
Highlighting is to the face what hot sauce is to a burrito; it just makes everything a little better. Usually when we talk about highlight, we’re referring to a shimmery product that we layer onto the high points of the face. This often includes the highest point of the cheeks, the cupid’s bow (upper lip), the nose, and a few other areas depending on your face shape. This type of highlighting works for enhancing the face shape. But it won’t create as much dimension as a more traditional highlighting/contour routine -- especially for rounder face shapes.
Highlight doesn’t have to mean shimmer or glow. It can also refer to creating dimension in the face with lighter colors using base products. This process enhances those features and draws more attention to that area of the face. Similar to painting a canvas, highlighting with base products affects the face shape, rather than the skin finish (as with shimmery highlighters).
Contour 101
Contouring helps to create darkness, and is essentially the opposite of highlighting. Contouring is adding a darker shade of base product, to create or deepen a shadow. Adding contour results in more angles and structure. Contouring can create the illusion of a more slender, angular face, whereas highlight expands whatever it touches. To avoid lack of shape and a widened appearance, ‘cutting’ angles with contour will become your new secret weapon.

How to Contour a Round Face
The ultimate goal of contouring (and highlighting) a round face is to achieve more of a heart shape. We want our face to be slimmest at the chin, widest at the cheekbones, and create angles and dimension from all directions.
Step 1: Highlight
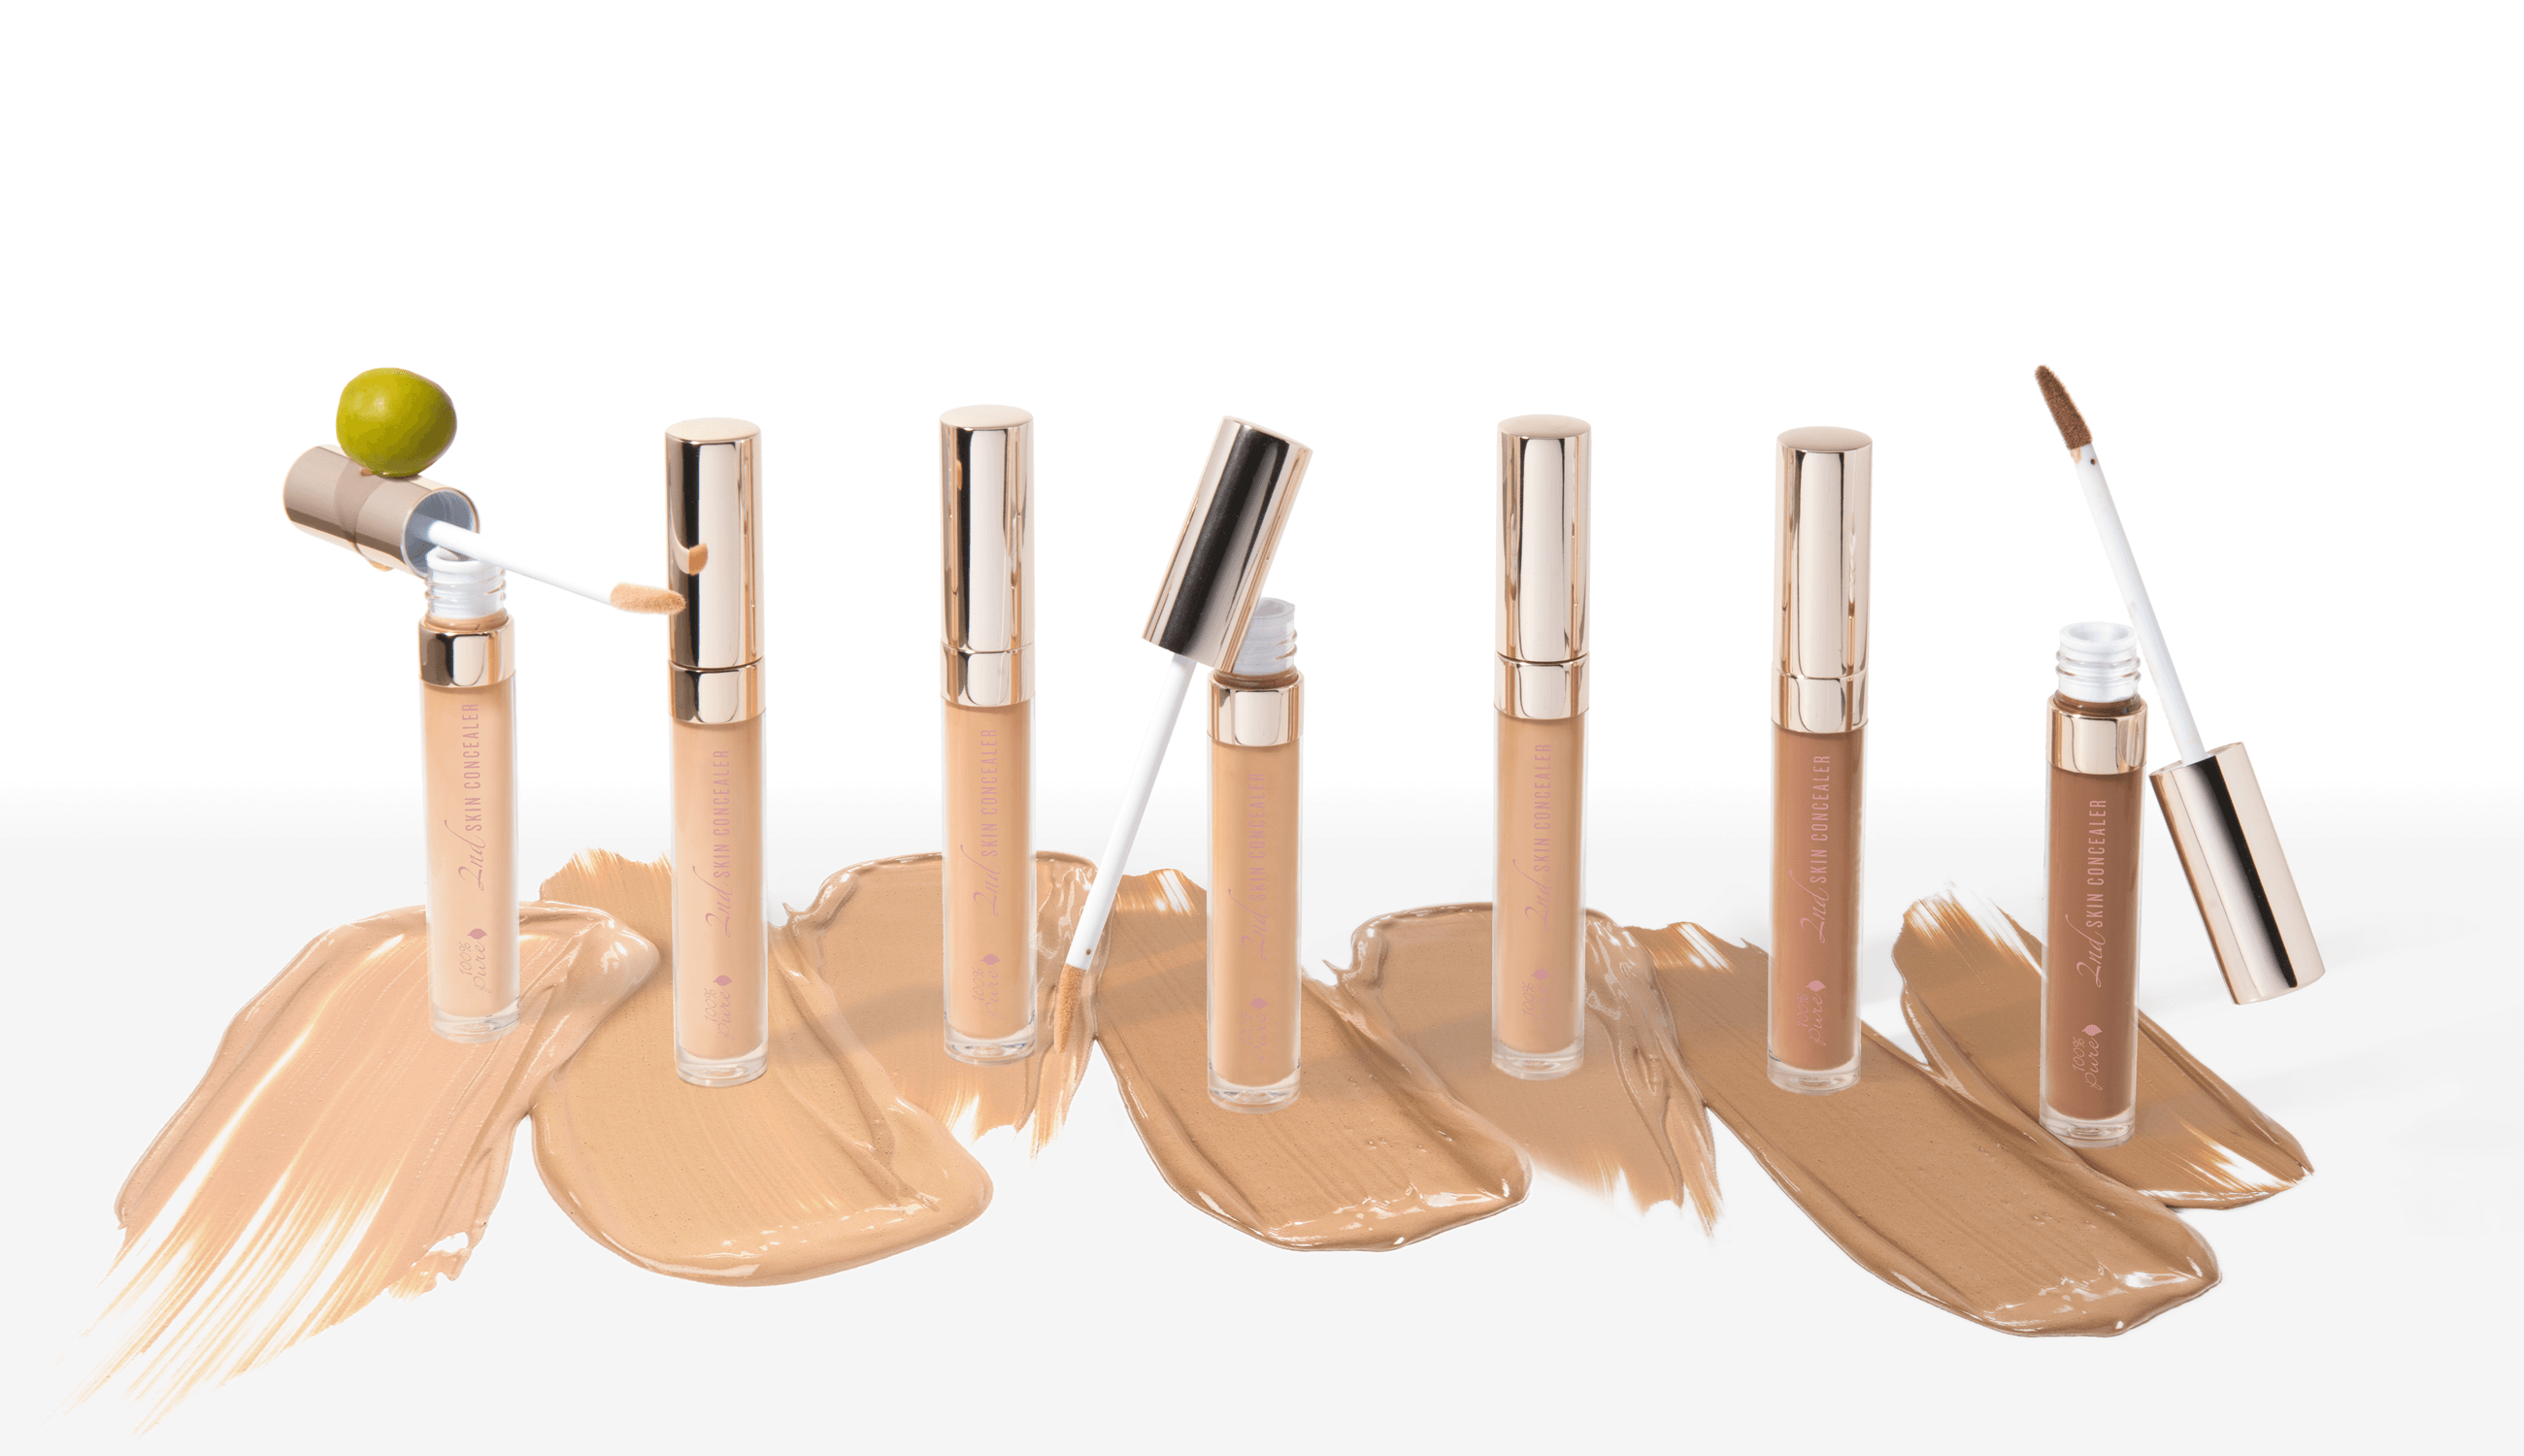
As with most face shapes, you’ll want to add a lighter concealer under the eyes for a bright, refreshed appearance. We prefer a liquid concealer like our 2nd Skin Concealer for highlighting, but a liquid foundation will do just as well. Choose a shade that’s 1-2 shades lighter than your skin tone.
Place the product in a cone shape, like an upside down triangle. The flat edge of the triangle will be along the lower lash line, with the point extending down to the apex of your cheeks. You’ll also want to add highlight to all the main stops along the center of your face. This includes your “third-eye” or the center of your forehead, the center of your chin, and the bridge/tip of your nose.

Step 2: Contour
Since round faces can sometimes lack angles around the perimeter, contouring is the more impactful step in this routine. Use a bronzer, powder foundation, liquid foundation, or liquid concealer in 1-2 shades darker than your skin tone. We add contour the upper, outer sides of our foreheads at hairline and where the temples are, along the far edges of our jawlines, and just under the cheekbones (usually where the sideburns and ear tragus are).
The most important step of highlighting and contouring is always blending! A harsh line is a dead giveaway, and ruins the credibility of all the makeup you’re wearing. Be sure to start subtly, and apply makeup in direct, natural light. Even if everything looks blended, give it once over with a clean, slightly damp sponge (or fluffy brush) with a tiny bit of translucent powder.
FAQ’s for Contouring a Round Face
Should I highlight or contour first?
This is totally up to you and your routine! Our rule is start with what is going to make the biggest impact, and work downwards from there. Our preference? Contour first, then adding highlight after to ensure it doesn’t get overblended.
Do I have to contour if I highlight? Vice versa?
Not necessarily. Though the two together are undeniably complimentary, there are days when both feel like too much work. Maybe we only want a bit of a brighten-up from highlighter, while on other days a swipe of contour gives us that #fierce look we’re going for.
What tools should I use for contouring? Highlighting?
Brushes are best for powders, and makeup sponges are great with liquid and cream products. Because highlight draws the most attention, we recommend using a soft, damp sponge to apply. This is how you’ll get the most natural, seamless finish.
What product formula should I be looking for?
What medium are you most comfortable working in? If you have a favorite, feel free to start there. However, all formulas have their pros and cons. Powders are a bit more forgiving, liquids and easier to blend out, and creams are probably the closest to skin’s natural finish.
If you’re still working up the courage to try highlighting and contouring, feel free to check out our highlighting and contouring 101 blog tutorial that covers the basics, and helps to determine your face shape! When you're ready to shop, explore our foundation and contouring products to find the perfect shades for your routine.
- Tags: how-to, Makeup, September-2018
We carefully hand-select products based on strict purity standards, and only recommend products we feel meet this criteria. 100% PURE™ may earn a small commission for products purchased through affiliate links.
The information in this article is for educational use, and not intended to substitute professional medical advice, diagnosis, or treatment and should not be used as such.