
A quick and easy guide for how to contour and highlight an oblong shaped face
Written by: 100% PURE®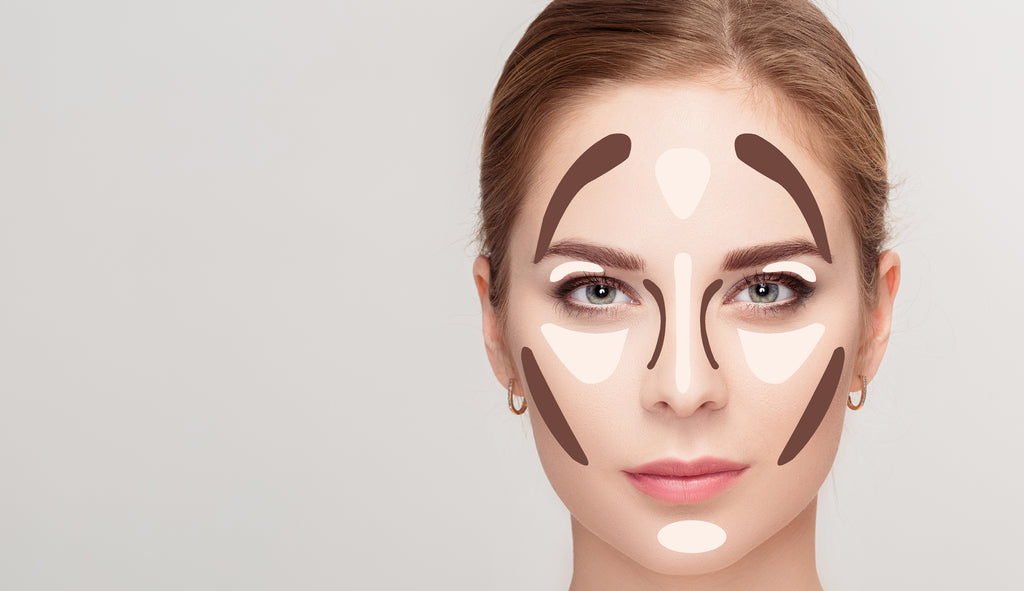
We can’t wait to be with all our friends and loved ones this holiday season, and we’re certainly going to turn up the glam when it comes to our beauty routine. Cocoa by the fire, ice skating with a winter crush and of course, dancing all night at the many holiday parties requires a beauty look that’ll turn heads. For us that means doll-like skin, rosy cheeks courtesy of fruit pigmented® blushes, and lots of shimmer (of course) to top it all off! But we can’t complete a flawless holiday look without a chiseled face contoured and highlighted to perfection.
To add-on to our how-to series for contouring different face shapes, we’ve got a quick guide below for turning oblong-faced beauties into contour queens - just in time for a slay ride with Santa and Mrs. Claus.
What does it mean to have an “oblong” face shape? Oblong is similar to an oval face shape, but just a bit more narrow and long. You won’t see the squared jaw or forehead as your would with rectangular faces, either. Oblong faces are normally 2x longer than they are wide, have no pointed features, and a narrow chin. If you’re planning to contour, your goal will be to increase cheek width and prominence, while balancing your face width and height.
Hold onto your almond milk eggnog - and let’s recap the basics of highlighting before we get started. Like a dusting of powdered sugar on freshly baked apple pie, highlight should be 1-2 shades lighter than our base. We apply it on all the high points from the bridge of our nose, cheeks, and cupid’s bow of the lips. Highlight can be that shimmery, twinkly powder that we’re all addicted to at the moment, but the highlight we’re referring to in this case is a liquid or cream concealer or foundation product that is applied during the base makeup stage of our beauty routine.
Highlight should be used to draw attention to whatever it touches. It creates the illusion of bigger and brighter, which is why there’s a science to the whole highlighting and contouring application. Later on, we’ll go over how to highlight specifically for oblong face shapes, but in general the highlighted areas tend to hover around the center of the face.
 Contour 101
Opposite to highlight, contour is more like the chocolate drizzle on our ice cream sundae. This bit of dark contrast creates more pop rather than a flat, one dimensional makeup look. Together with the highlight and our base shade, this creates a trifecta of colors that should ideally mimic the shadows cast around our face angles in direct light. Similar to highlight, contour should be 1-2 shades different than our base shade, but darker and not lighter like in the case of highlight. We prefer contouring with cream and powder products, but liquid will work in a pinch, too.
Contour should be applied next to the angular points of our face. For most, this might mean right below the most defined area of the cheekbone, right under the jawline, and usually along the edge of our hairline to blend our foundation away toward our scalp.
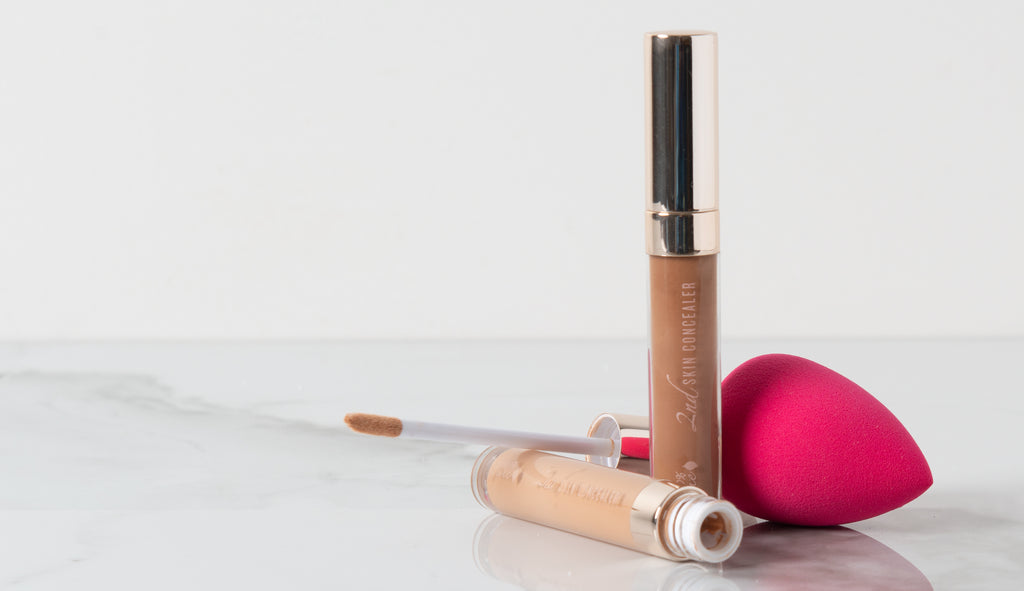
Recommended Product: Fruit Pigmented® 2nd Skin Concealer
Recommended Tool: Non-Latex Makeup Blender
Once your base makeup is complete, you can add your highlight. Make sure that your formulas are compatible! That means setting your face with powder first and using all powder products from this point on or using only liquids and creams together until the end when it is time to set.
For oblong faces, we want to create the illusion of more width to balance the length. Add highlight under the eyes in a triangle shape sweeping it out towards your ears. We love using our dampened sponge here because it helps to melt the cream product seamlessly into the skin for a flawless finish and lightweight wear.
 Step 2: How to Contour an Oblong Face
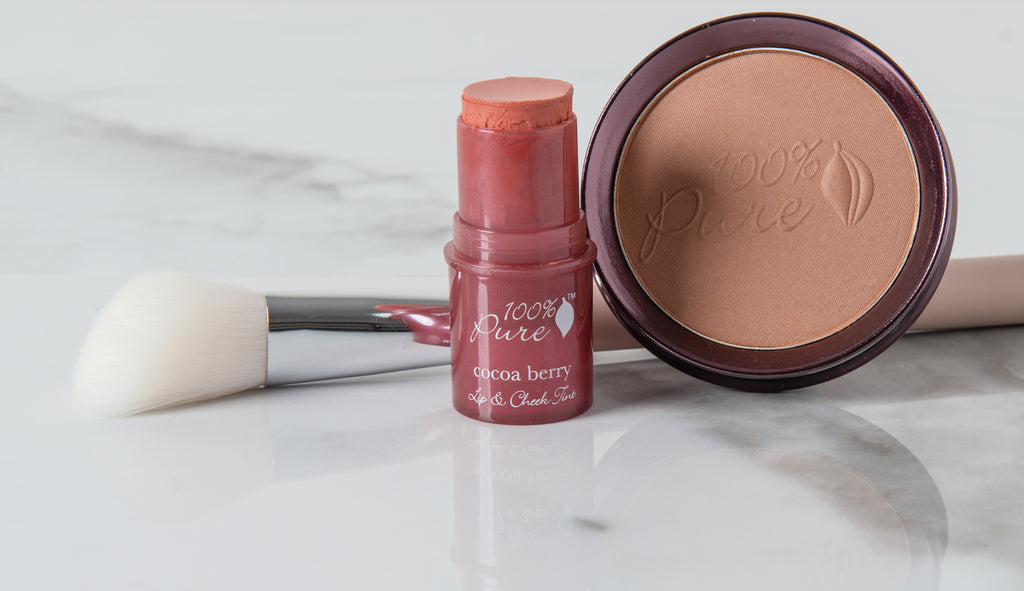
Recommended Product: Fruit Pigmented® Powder Foundation
Recommended Tool: Cruelty Free Angled Contour Brush
The secret to contour? Less is more! We can always layer and add on to our desired depth, but it’s nearly impossible to sheer it out once we’ve got on too much. Because of this, it is a bit easier to work with powder here which is why we recommend our Powder Foundation; the variety of shades and contour-compatible undertones work well for any skin tone, but feel free to use what you feel most confident with.
To create more dimension in the face, we’ll definitely want to add contour along the chin. Sweep a light layer on the temples and around the forehead as well and most importantly, add contour under the cheekbones. If the shading looks too harsh or unblended, take a fluffy brush and translucent powder and lightly buff everything together for a flawless finish.
Have a friend with a rectangular face? How about a round face? Learning how to contour for your face shape can be tricky, so share what you’ve learned! Now go flaunt that flawless face of yours, and check back for more beauty tips and tricks on our blog.
- Tags: December-2018, how-to, Makeup
We carefully hand-select products based on strict purity standards, and only recommend products we feel meet this criteria. 100% PURE™ may earn a small commission for products purchased through affiliate links.
The information in this article is for educational use, and not intended to substitute professional medical advice, diagnosis, or treatment and should not be used as such.


