
How to use press-on nails while keeping natural nails healthy
Written by: 100% PURE®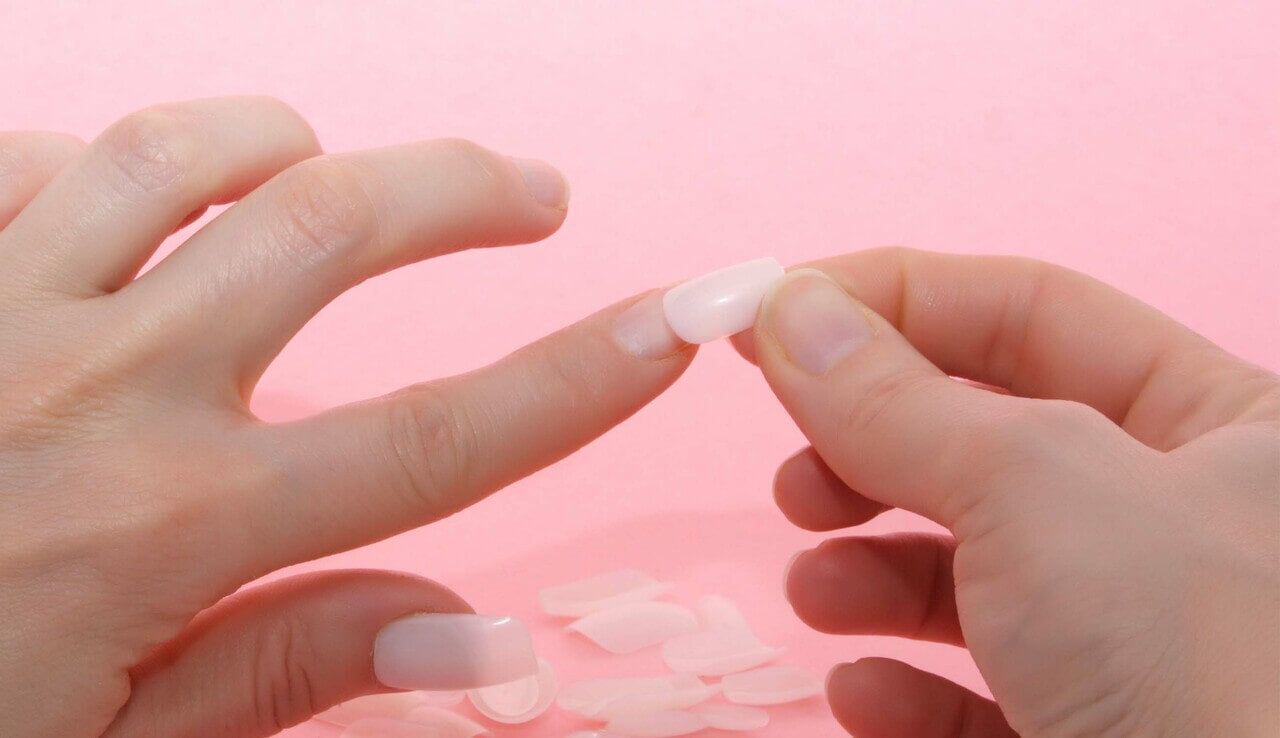
We’re popping more than champagne this holiday season by popping on some cute and stylish press-on nails. We love the occasional glam or even the daily beauty of pretty nails. However, going to the salon or doing them ourselves can sometimes be a chore; not to mention the damage that some nail applications and extensions can wreak on our hands.
Stay tuned for our full guide to wearing press-on nails that are better for maintaining the integrity of our nails, before and after application.
Press-on nails come in all different lengths, colors, and designs – and we love the versatility! We love having the ability to get a fresh manicure in minutes and mix and match nail colors and designs while keeping our natural nails healthy and flourishing. The application is easy, and in comparison to other formats of nail styling, press-on nails are quite easy and harmless. Here’s how they work.
First, either a brand or licensed professional will use hard nail gel or acrylic and monomer to form the tips. These are typically full-coverage tips, meaning they cover the entire nail bed and often have an extended tip to create the effect of a longer nail. Once the nails are dry and hardened, they are buffed and filed into shape then painted and styled with a variety of designs.
To attach them, an adhesive pad can be applied to the press-on nail form which will stick to our nail bed. Liquid glue can also be used to attach the nail form to our own nail. These typically dry naturally in seconds without the use of an LED or UV light, and most press-on nails will stay adhered for at least 5 days.
Many of us are already aware that there are harmful ingredients often used in nail polish and some nail products. Some of the heaviest hitters like formaldehyde and toluene might even be familiar to you.
Certain formats of nail styling, like acrylic nails, come with exposure to some toxic material. For example, the monomer used may usually contain ethyl methacrylate or EMA, which, without proper ventilation, poses a risk of mild inflammation to the skin, breathing, and allergies.
Fortunately with press-on nails, as they’re already formed and hardened and not crafted in a salon, the exposure is much lower. Even so, there’s another chemical to keep an eye on as well.
Toluene is a toxic chemical that is used in many nail products. What makes this one so risky is that we’re typically in contact with it by vapor exposure, and the side effects include irritation to the skin, eyes, and respiratory tract.
Toluene is a common ingredient found in nail glue, so while press-on nails are quite safe on the spectrum of exposure, it is still highly recommended to work in a well-ventilated area for the best practice of applying press-on nails.

Press-on nails do require a bit of prep work to ensure they go on smoothly, easily, and last as long as possible.
Press-on nails should not be used over other nail products like tips, polish, or extensions.
Start by gently pushing the cuticles back with an orangewood stick or cuticle pusher.
Next, trim the natural nail and file any rough edges to ensure there are no hangnails or dead skin.
Lightly buff the surface of the natural nail, leaving it slightly rough to the touch. This allows the press-on nails to adhere better.
Measure each press-on nail against the size of each finger and lay out the corresponding tip that fits.
Now we’re ready to apply an adhesive pad to the press-on or to use glue to attach the press-on nail. In some cases, use both! This results in maximum hold and the longest wear time. Be sure to press down firmly while gluing or attaching the nail, holding it in place for 5-10 seconds. Then, voila! In literally a matter of minutes, we can have a fresh manicure and be polished for any occasion.
When we’re ready to say goodbye to our press-on nails, it’s as easy as when we applied them. The gentlest way to remove them for our nails and hands is to soak our fingers in a shallow dish of warm soapy water.
After a few minutes, the press-on nails should loosen enough to softly work the tips off with a cuticle pusher. The more effective route does involve soaking the nail area in 100% acetone, which can be quite drying for the hands and nails. We recommend avoiding this method if possible.
After nails are removed, especially if we’re not applying any polish or another nail extension, our nails will be in need of TLC.
First, once all the press-on nails are removed, another trim and filing of the free edge may be necessary to make the nails smooth and uniform again.
Once that’s done, we’ll need to file and buff away any debris leftover from the nail glue or adhesive pads. The surface of the nail should be buffed until shiny and smooth, in contrast to the slightly rough surface we created to apply the press-on nails originally.
If desired, a light coat of non-toxic glassy clear polish can be added for protecting the nails’ surface and adding shine.
Finally, the nails will be in need of moisture, so we like to apply a richly conditioning Nail & Cuticle Oil. Ours comes fortified with healing jojoba and nourishing vitamin E for skin and nail support.
Finish up with a quick hand massage and some naturally scented vegan hand lotion for an at-home manicure that’s just as good as the salon.
- Tags: January-2022, Makeup
We carefully hand-select products based on strict purity standards, and only recommend products we feel meet this criteria. 100% PURE™ may earn a small commission for products purchased through affiliate links.
The information in this article is for educational use, and not intended to substitute professional medical advice, diagnosis, or treatment and should not be used as such.


