How to highlight face, skin, and your gorgeous features with both natural and artificial light!
Written by: 100% PURE®
We’re all a little selfie-obsessed these days - whether or not we dare admit it. You might be one of those who post a selfie a day, or one who posts a selfie every six months. No matter your social media selfie schedule, none of us can deny that our phones are filled with hundreds of selfies that have never seen the light of day. With the right lighting, selfies and makeup can reach their full, flawless potential - but where to begin?
We’ll tell you how to highlight face, skin, and your features with the right natural and artificial light sources - while dishing on the absolute worst types of light for your selfie game AND your skin.
 Why Natural Light Is Best
If you’re wondering how to highlight your face and features in photos in all the right ways, natural light is the way to go. Standing near a window or even outside between 10am and 3pm can do wonders for your selfie game. When you use natural light to apply makeup or even snap a selfie, you’re getting a full, direct light source and minimal shadows. Of course, there are a few tricks to this, like facing the sunlight head-on, not from the side of with it behind you. That’s when you get into shadow territory, where a single errant shadow can distort otherwise normal features.
When it comes to the absolute best kind of sunlight, makeup artist Min Min Ma told Well + Good that “Natural lighting is best, especially overcast light,” which makes total sense. While late morning and early afternoon direct sunlight can work Insta-filter magic on your skin and illuminate your eyes, overcast light tends is more flat and can balance your complexion without too much exposure - meaning it may not be as amazing for selfies, but will produce the most natural looking makeup application.
As for perfect selfie lighting that’s courtesy of Mother Nature, early afternoon sunlight is ultra flattering, and both the ‘blue hour’ and ‘golden hour’. The blue hour is 10-30 minutes before sunrise and 10-15 minutes after sunset; it casts a flattering blue hue on skin that tends to minimize imperfections. The golden hour is opposite, happening shortly after sunrise and shortly before sunset; the warm orange hue makes skin look glowy and soft during golden hour.
Using Natural Light to Get Color Matched for Makeup
It’s absolutely crucial to use a natural light source when getting color matched for makeup - especially foundation. If you’re emailing our Customer Service team for advice on choosing your ideal shade, there are two important steps to take to get the most accurate result: a makeup free face photographed in direct, natural light. This is the only way for makeup professionals to see that actual tones and undertones in your skin, and to match you to the most natural looking shade for you. This tip also works for choosing other products like lipstick or brow makeup, so bring a handheld mirror to the store and search out a window when testing makeup!
 The Best Artificial Lighting
Bulbs
When it comes to lighting your vanity in your room or the mirror in your bathroom, invest in the best light for your beauty routine. If you plan on doing lots of makeup, plucking, and hairstyling, opt for LED bulbs. InStyle and many makeup artists also rave over the GE Reveal, a halogen bulb that’s most similar to natural daylight.
Light Fixtures and Mirrors
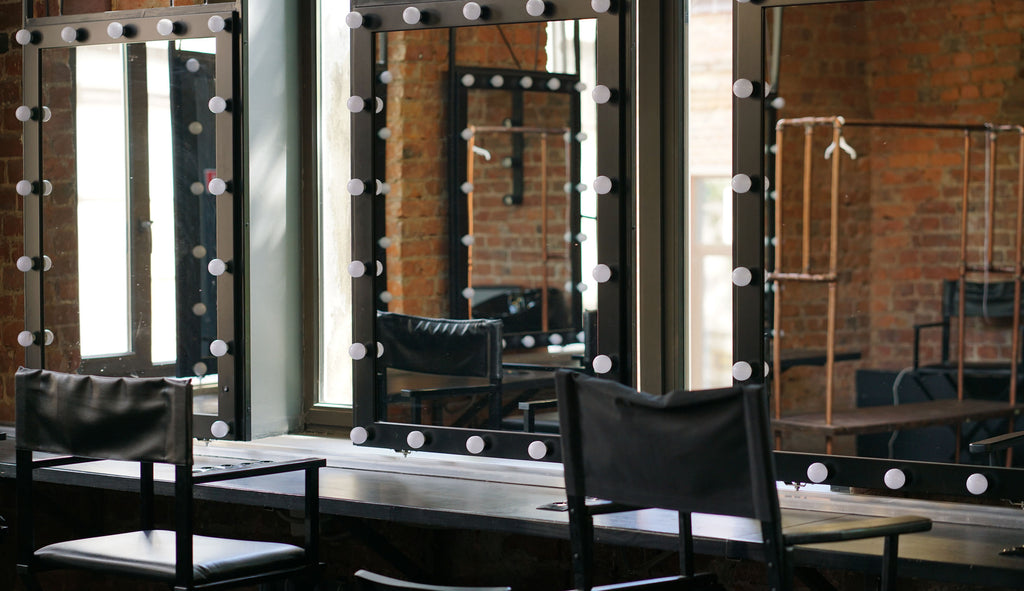
Vanity mirrors might seem a bit extra, but they’re tried and true backstage staples for makeup artists in the entertainment industry because they cast light onto the face from all angles, and can be customized with frosted bulbs for a softer focus. A ring light is always flattering since it frames your face evenly with light, but you’ll get those alien-esque ring lights reflected in your eyes, too. There are also plenty of phone cases that are great for snapping endless selfies, which come equipped with clip-on ring lights for a flawless photo finish.
Ever wondered why you feel anxious and icky in that bright, garish CVS lighting? That buzz of fluorescent light might as well signal danger for your selfie game, and your skin. Fluorescent lights tend to cast a harsh white hue onto skin, and can make you look sallow and washed out. This leads to a heavy application of makeup products like blush and bronzer, to correct this lack of color in your complexion - a fastpass to clown makeup! In short, fluorescent light won’t do you any favors.
Best not to spend too much time in front of any type of fluorescent light, as studies have shown that they emit photoaging UVA rays. Even if they’re in small doses, spending too much time in front of them could be harmful for your skin.
Another culprit for both makeup application and any kind of photo is downcast (from above) light. When you stand below a light source without facing it directly, heavy shadows are thrown down over your features like your eyes, jawline, and mouth. Since these shadows seem to pull your features downward and make them look more heavy, downcast light is know to have an instant aging effect to the naked eye. Besides making you look older, this type of light is likely to make you look a little ominous, too - both things we’d like to avoid with our beauty look!
Yellow light is another type of light you’ll want to avoid for your makeup application. Much like fluorescent light, yellow light can make your skin look sallow; but instead of washing you out, it will make skin look sickly and unhealthy. Dark spots and dark circles will look even more prominent. In summary: if you apply your makeup in yellow light, and you’re likely to end up with too-heavy concealer and powder layers that you thought you needed, but really don’t.
Want more natural makeup tips? Check out our blog feed for more!
- Tags: January-2019, make up, Makeup
We carefully hand-select products based on strict purity standards, and only recommend products we feel meet this criteria. 100% PURE™ may earn a small commission for products purchased through affiliate links.
The information in this article is for educational use, and not intended to substitute professional medical advice, diagnosis, or treatment and should not be used as such.

