Easy tips for creating a homemade lip serum
Written by: 100% PURE ®
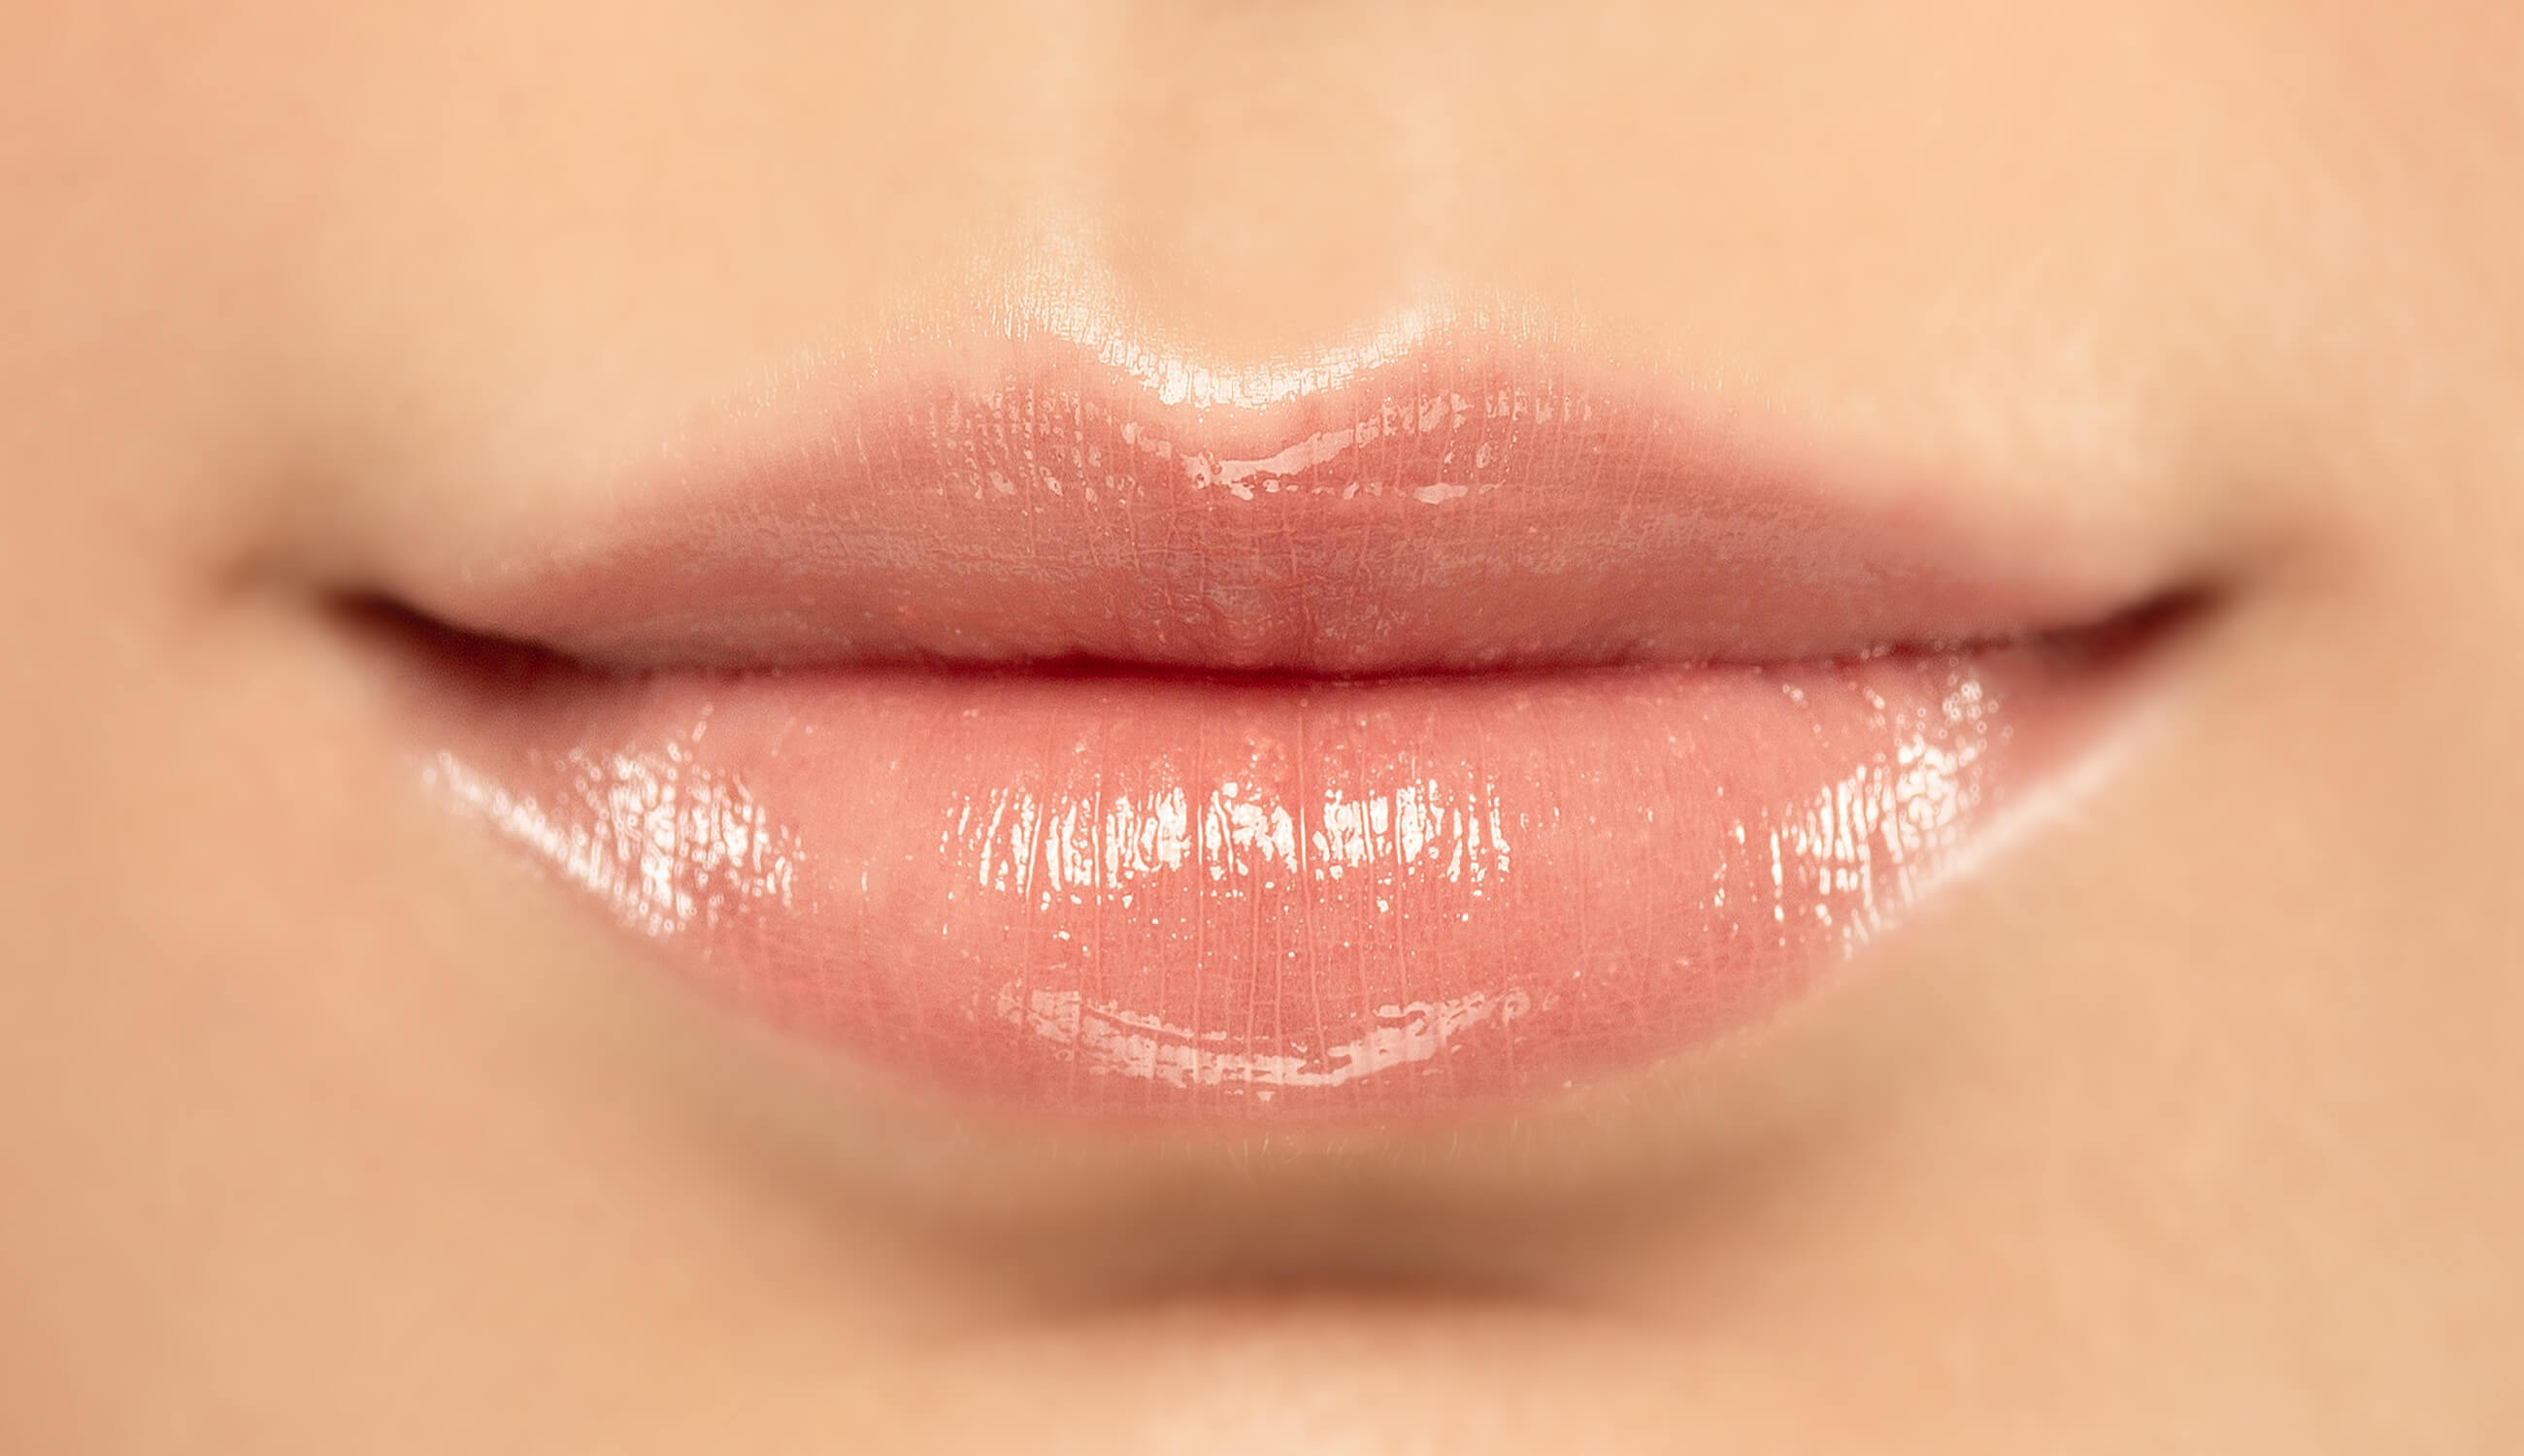
Lips are the oft-forgotten recipient in your skin care routine, not considered quite as much as the rest of your face and body. They get dry and crack, they age with you as you get older, and they require hydration and sun protection on a daily basis. So how can you show them a little extra love?
This is where a lip serum comes into play. Sure you can buy one – but high quality, clean, and organic formulas can cost $30 and up. To scratch that DIY itch and save a few bucks, we’ve come up with 3 DIY lip serums to experiment with at home. Each one is tailored to a specific concern: hydrating, anti-aging, or plumping.
Dive in and find the formula that’s right for you!

What can a lip serum do that your daily lip balm can’t? While balms are great for moisturizing the lips, a serum is designed to be more concentrated, with active ingredients.
In your skin care routine, you likely have separate stages for both serums and moisturizers. Serums target your concerns and moisturizers seal your hydration in. This doesn’t mean you have to stop using lip balms; in fact, a balm with SPF is ideal for daytime sun protection. You can also use a balm to seal in moisture after your serum.
You might wonder if you can use your regular face serums on your lips. Here’s the key issue: there are prominent differences between the skin on your face and the skin on your lips. Note the following:
Layers of skin
There are fewer layers of skin on your lips; namely, the outer layer called the stratum corneum that acts as a defensive barrier against UV damage and loss of hydration. That means the skin on your lips is thinner, and therefore more susceptible to factors like dryness and sun damage.
Amount of protection
The lip has zero sebaceous glands. This means there are no natural oils helping to retain moisture, making it too easy for water to evaporate from your lips. This is why our lips seem to get dry and chapped more constantly than other areas of our face.
When it comes to hydration, a homemade lip serum is a great way for you to get the direct benefit of active ingredients – without dealing with unsuitable fillers or harsh actives.

The weather can be rough on your lips: hot sun, cold wind, and dry air can all contribute to dry, cracked, or chapped lips. Even as we age, our skin gradually loses the ability to hold onto moisture as well as it once did, and lips are no exception. To battle dehydration, ingredients like honey, hyaluronic acid, rose water, and aloe juice are powerful topical treatments.
If your lips are irritated in addition to dry and thirsty, rose water and aloe juice are particularly soothing. To battle dry lips, just keep it simple: here’s a 4-ingredient recipe you can try at home.
1 tbsp organic aloe juice
1 tbsp rose hydrosol
1 tbsp hyaluronic acid
1 tbsp organic jojoba oil
Mix ingredients in a small jar that can be sealed tightly and stored in a cool, dry place. Pure hyaluronic acid is thick, so use less (or more) depending on your preference. Mix well before each use; can be applied with a lip brush, q-tip, or clean and dry fingers.
PRO TIP: When choosing a hyaluronic acid serum, opt for one that’s vegan – many hyaluronic acid serums are sourced from rooster combs. Also avoid phenoxyethanol, a common preservative ingredient in hyaluronic acid serums with links to organ toxicity and skin irritation.

Your lips develop more fine lines and wrinkles as you get older – it’s often where aging shows up first! While these lines can be side effects from the breakdown of collagen and elastin, part of the problem comes from increasing dryness – which can exacerbate the look of fine lines and wrinkles. An effective approach is to boost your skin’s collagen production and hydrating abilities in one multitasking lip serum.
Vitamin E is a stellar anti-aging ingredient that suits any part of the body, even the delicate lips. This antioxidant works by lessening the appearance of fine lines, increasing your skin’s ability to retain moisture, and helping to heal wounds. A plus: its antioxidant action aids in sun damage defense and helps to preserve your formula.
1 tbsp vitamin E
1 tbsp hyaluronic acid
1 tbsp organic green tea oil
Mix ingredients in a small, resealable jar. Apply with lip brush or clean, dry fingers.

Hydrating the lips can temporarily plump out fine lines and wrinkles, but if you’re looking for a bigger pout, you’ll need more active ingredients. Cinnamon, peppermint, and wintergreen will be your friends in this category – they promote blood flow and gently inflame the skin for a plumping effect. To avoid a powdery mess, use these herbs in oil form.
1 tbsp organic jojoba oil
1 tsp organic cinnamon oil (or organic cinnamon flavor)
1 tsp organic peppermint oil
Mix well to ensure oils have been fully incorporated. Massage the serum into your lips for an extra circulation boost. A light tingling sensation is normal. If there is an uncomfortable burning sensation, wipe away with a gentle cleansing balm before rinsing thoroughly with a wet, lukewarm cloth.
PRO TIP: A lip-plumping lip serum shouldn’t be an everyday treatment. With frequent use, ingredients like cinnamon can cause irritation and dryness.
To accentuate results and give your lips their best chance for success, we’ve compiled a list of a few simple guidelines.
#1: For best results, use a lip scrub before your serum. This will clear away dead skin cells and allow your lip serum to work its magic. Be sure not to overdo it! Your lips are much thinner and more delicate than the rest of your skin.
#2: Store your lip serum in a clean bottle to prevent contamination. You can even try a glass rollerball bottle to make applying your serum even easier!
#3: Feeling fancy? Use a lip brush to apply your serum for minimal mess and precise application. This is especially helpful for the lip plumping formula, which could redden the area around your mouth if you color outside the lines.
#4: Follow up with an occlusive organic lip balm, to seal in all the moisture from your hydrating lip serum.
#5: The best anti-aging technique is prevention – invest in a mineral-based, cruelty-free SPF lip balm for daily protection.
#6: As we all know waters and oils can separate. If you store your serum, be sure to shake your bottle before using it.
#7: Don’t store your serum for too long; it’s meant for short-term use! But if you’re chemistry-savvy, add preservatives to your formula and make it last longer.
No matter your skin concerns and goals, choosing to create a DIY serum is great for your wallet and your lips. Looking for more DIY lip magic? Check out our recipes for 3 DIY lip scrubs!
- Tags: February-2020, Skin Care, skincare
We carefully hand-select products based on strict purity standards, and only recommend products we feel meet this criteria. 100% PURE™ may earn a small commission for products purchased through affiliate links.
The information in this article is for educational use, and not intended to substitute professional medical advice, diagnosis, or treatment and should not be used as such.


